

How Is Strawberry Wine Made?
You make strawberry wine by crushing ripe strawberries and mixing them with water, sugar, and pectic enzyme to boost clarity. You’ll add yeast nutrient and then introduce wine yeast after letting the mixture rest.
Keep everything sanitized and ferment at around 65-75°F, monitoring with a hydrometer. After primary fermentation, rack the wine to separate sediment, sweeten as desired, clarify, then bottle.
Keep going, and you’ll uncover detailed tricks to perfect each step.
Essential Ingredients for Strawberry Wine
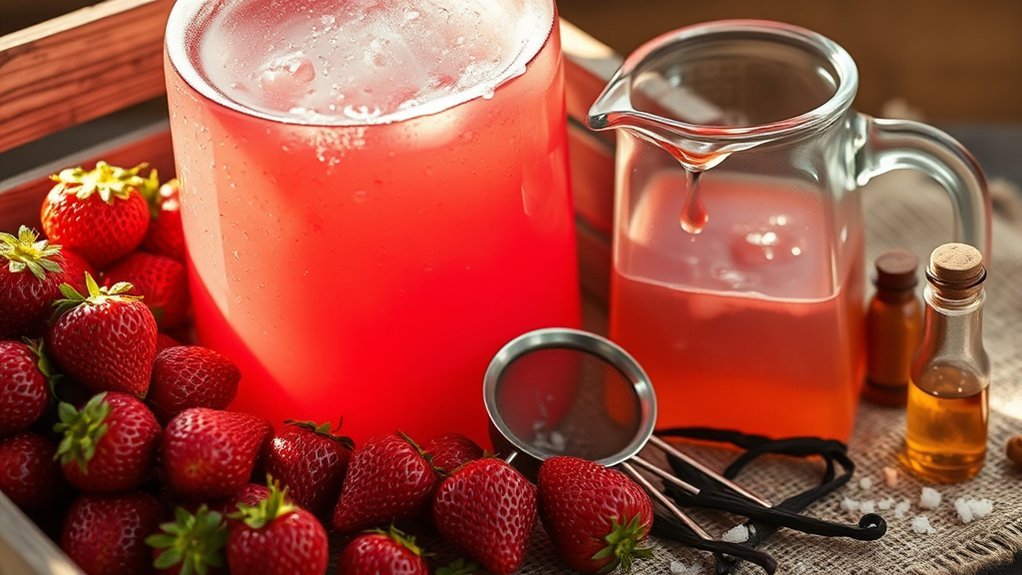
To make strawberry wine, you’ll need fresh or thawed strawberries, at least 3.5 pounds. Juice them while discarding the flesh to boost flavor. Using fresh or frozen strawberries guarantees the best taste, but make sure they’re fully thawed if frozen.
Next, add about 7 pints of water to dilute the juice, allowing proper fermentation. To improve clarity and prevent haziness, include 1 teaspoon of pectic enzyme.
You’ll also want to add yeast nutrient to support healthy fermentation, which helps the yeast thrive and efficiently convert sugars into alcohol.
Don’t forget to balance the flavor with an acid blend and enhance complexity with wine tannin.
Finally, sterilize your must with a Campden tablet to prevent unwanted wild yeast from spoiling your wine.
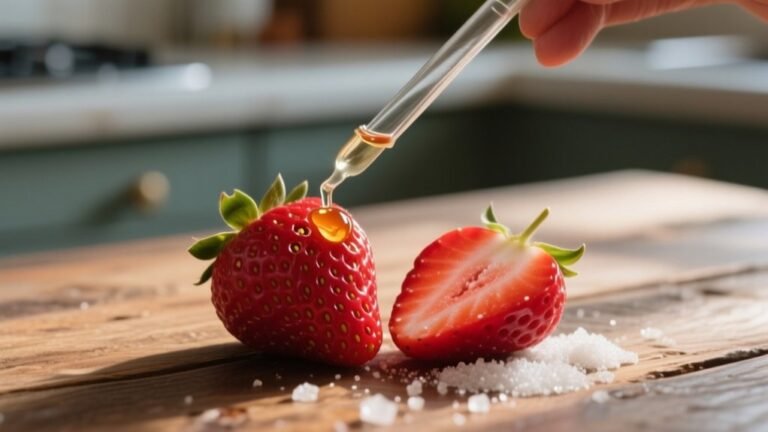
Preparing Strawberries for Strawberry Wine
Once you have gathered your fresh or thawed strawberries, the next step is getting them ready for winemaking. Start by selecting ripe strawberries free from mold, then hull them by removing leaves and stems.
Preparing strawberries for strawberry wine means you’ll need to chop or crush the strawberries to release their juices. Next, mix the crushed fruit with sugar to create a syrup and let it sit for about an hour to extract the juice.
Chop or crush strawberries, mix with sugar, and let sit an hour to release their juicy sweetness.
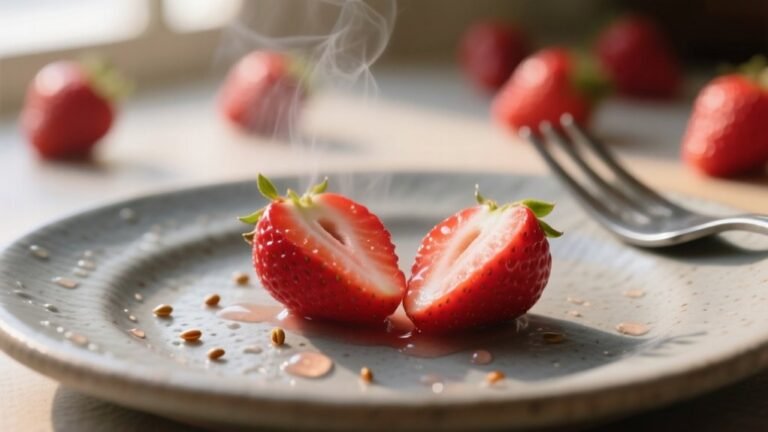
When juicing the strawberries, mash the mixture and strain it through a fine mesh to separate the juice from the pulp, discarding the solids.
Finally, measure the juice to guarantee you have the right amount, typically around 3.5 pounds, to follow your wine recipe accurately.
Setting Up Fermentation Equipment
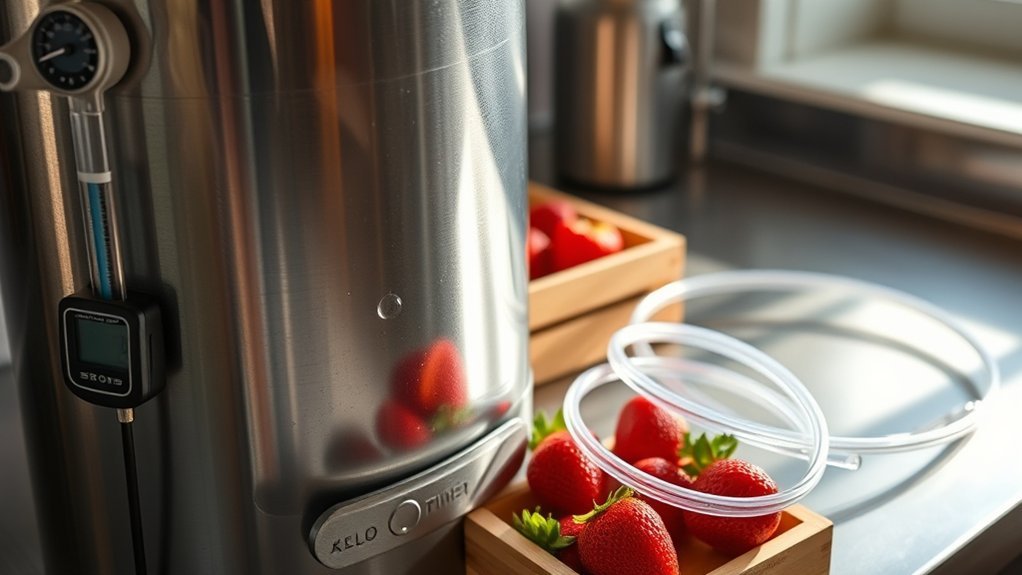
Before you start fermenting, make sure to choose containers that fit your wine volume and reduce oxidation risks.
It’s important to pick the right size so you’re not leaving too much air space, which can lead to spoilage.
You’ll also want to properly sanitize every piece of equipment, from containers to airlocks, to keep your brew clean.
This step can’t be skipped because any bacteria or wild yeast can mess up the whole batch.
Setting up the airlock correctly is key.
It lets gases escape during fermentation but keeps contaminants out, so your wine stays safe and tastes great.
Just make sure it’s sealed tight and filled with the right liquid to do its job.
Choosing Fermentation Containers
When choosing fermentation containers, you’ll want one that’s at least 40% larger than your final wine volume to handle bubbling and foaming during fermentation.
Start with a primary fermentation container like a 2-gallon fermenter to give your strawberry wine plenty of space to develop.
For secondary fermentation, switch to a glass carboy with a narrow neck. This secondary fermentation vessel minimizes oxygen exposure and helps keep your wine clear.
Before using any container or equipment, sanitize everything thoroughly to prevent contamination and spoilage.
Proper sanitation is essential for producing quality strawberry wine.
Airlock Setup Essentials
Although fermentation produces carbon dioxide, you need an airlock to let the gas escape without letting contaminants in.
To set up your airlock, first fill it with water to the indicated line, creating a barrier against outside air.
Attach the airlock securely to your fermentation container’s lid or stopper, ensuring it’s tightly sealed for effective gas release. If you’re using a three-piece airlock, assemble all parts correctly and secure the cap to maintain an airtight environment for the yeast.
During fermentation, check the airlock regularly to keep it filled with water, as evaporation can compromise its function.
Proper airlock setup is essential to protect your strawberry wine as it ferments smoothly and safely.
Sanitizing Equipment Properly
Since any contamination can spoil your strawberry wine, you must sanitize all fermentation equipment thoroughly.
Start by cleaning fermenters, airlocks, and utensils with hot water and soapy detergent to remove residues.
Then, sanitize properly using one of these effective methods: rinse with boiling water or a bleach solution (1 tablespoon per gallon). You can also use commercial sanitizers like Star San or Iodophor for quick, no-rinse sterilization.
Make sure all bottles, caps, and corks are sanitized before use.
After sanitizing, let everything air dry completely to avoid recontamination.
Always cover fermenters with a sanitized cover to protect from airborne bacteria and wild yeast.
Following these steps guarantees a clean environment for fermentation, helping your strawberry wine develop flawless flavor and quality.
Choosing the Right Yeast for Strawberry Wine
Choosing the right yeast is key to shaping your strawberry wine’s flavor and alcohol level.
Different yeast strains offer varying alcohol tolerances, which affect fermentation and the final taste.
So, you’ll want to pick a wine yeast that matches your desired sweetness and strength for the best results.
It really makes a big difference in how your wine turns out!
Yeast Varieties Overview
When you select the right yeast for your strawberry wine, you directly influence the fermentation time, alcohol level, and flavor profile of your final product.
Understanding the yeast varieties overview helps you pick the wine yeast you use wisely, considering each strain’s unique traits and alcohol tolerance.
Common options include:
- Red Star “Cote de Blancs,” which boosts fruity notes and guarantees a clean finish
- Wild yeast, cultivated naturally, offering unpredictable but distinctive flavors
- Standardized wine yeast strains, providing consistent fermentation control
Alcohol Tolerance Impact
Picking the right yeast doesn’t just shape the flavor of your strawberry wine; it also determines how much alcohol it can develop. Each yeast strain has a specific alcohol tolerance that affects fermentation’s ability to convert sugars into alcohol.
For example, Red Star “Cote de Blancs” tolerates about 12-14% ABV, making it ideal for fruit wines like strawberry. Yeasts with higher alcohol tolerance ferment more sugars, yielding drier wines, while lower tolerance strains stop early, leaving sweeter wine.
Monitoring specific gravity during fermentation helps you track yeast performance and estimate alcohol content. Aim for a final gravity between 0.995 and 0.990.
Although wild yeasts from strawberries can be used, their unpredictable alcohol tolerance can lead to inconsistent results.
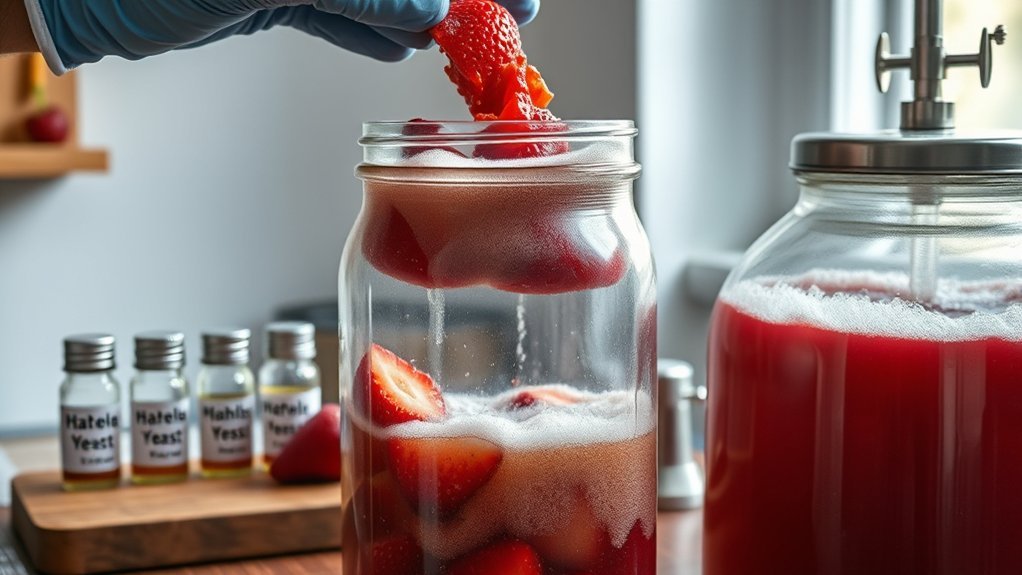
Starting Fermentation With Strawberry Must
To start fermentation with strawberry must, you’ll hull and chop fresh strawberries, then mix them with sugar to create a syrup that extracts their juice.
After letting this mixture sit for about an hour, add spring water to reach your desired batch size.
Then, enhance the strawberry must by stirring in essential additives like pectic enzyme to break down fruit pulp and clarify the wine, acid blend to balance flavor and acidity, and yeast nutrient and wine tannin to support healthy fermentation and complexity.
Once the must rests for 24 hours, sprinkle in your chosen wine yeast to kick off fermentation.
Monitoring sugar levels with a hydrometer guarantees you track fermentation progress accurately, helping you achieve the perfect final gravity before bottling.
Managing Strawberry Wine Fermentation Timing and Temperature
After adding yeast to your strawberry must, keeping a close eye on fermentation timing and temperature will help you steer the process smoothly. Managing fermentation timing is key during primary fermentation, which lasts about two weeks. Temperature control between 65-75°F guarantees yeast stays active without stress.
Too high, and off-flavors may develop; too low, and fermentation slows. Daily agitation promotes uniform fermentation, and bubbling in the airlock signals activity. As bubbling slows, fermentation nears completion.
| Stage | Duration | Temperature Range (°F) |
|---|---|---|
| Primary fermentation | ~14 days | 65-75 |
| Daily agitation | Daily | N/A |
| Active bubbling | First 7-10 days | N/A |
| Bubbling slows | After 10 days | N/A |
| Monitor signs | Continuously | 65-75 |
When and How to Rack Strawberry Wine
You’ll want to rack your strawberry wine about 4 to 5 days in, once the primary fermentation is mostly done.
It’s important to use clean, sanitized equipment when you transfer the wine—that way, you avoid any contamination and keep everything safe.
Racking helps clear out the sediment, which not only makes the wine look better but also improves the flavor.
Plus, it sets things up nicely for a smooth secondary fermentation.
Timing For Racking
Although it might be tempting to rush, racking your strawberry wine at the right time is essential for a clean and flavorful result. You should start racking the wine after the primary fermentation has been underway for about 4-5 days or when bubbling slows, signaling roughly 80% completion.
Transfer the wine carefully from the primary fermentation vessel to a sanitized secondary fermenter to leave sediment behind.
Keep these timing tips in mind:
- Monitor fermentation activity and wait for decreased bubbling
- Check specific gravity aiming for .995-.990 before bottling
- Rack every 3-4 weeks to improve clarity and flavor
After racking, let the wine ferment in the secondary fermenter for about three weeks, covered with an airlock to protect and allow gas to escape.
Racking Equipment Needed
Two key pieces of equipment you’ll need for racking strawberry wine are a siphon or auto-siphon and a sanitized secondary fermenter, such as a carboy.
The siphon helps you transfer the wine gently from the primary fermenter to avoid disturbing sediment.
Always sanitize every tool and fermenter before racking to prevent contamination. Cleanliness is critical in winemaking.
After primary fermentation slows, typically 4-5 days in, you’ll rack the wine by siphoning it into the sanitized fermenter, leaving sediment behind.
You can repeat racking every few weeks until the wine clears, usually about six weeks after the first rack.
Monitoring specific gravity helps you know when fermentation’s done.
Using the right equipment and sanitizing carefully guarantees your strawberry wine stays clean and develops great flavor.
Benefits Of Racking
Patience plays an essential role in winemaking, especially when racking strawberry wine. Racking the wine involves transferring it from one vessel to another, separating it from sediment. This process greatly improves clarity, ensuring your wine looks clean and inviting.
You’ll want to rack after about 4-5 days when fermentation is roughly 80% complete, and again during secondary fermentation around three weeks later for further refinement.
The benefits of racking include:
- Enhancing clarity by removing sediment
- Improving flavor by allowing the wine to mature without off-flavors
- Refining mouthfeel, making the wine smoother and more enjoyable
Sweetening and Clarifying Strawberry Wine
When sweetening strawberry wine, you’ll want to add sugar water gradually, tasting as you go to prevent making it too sweet. Back sweetening is a smart method: dissolve sugar in a small amount of wine first, then mix it back into your batch for even sweetness.
Clarifying the wine involves racking multiple times to separate sediment and improve clarity. If the wine remains cloudy, fining agents can help. Monitor the specific gravity with a hydrometer, aiming for a final gravity around .995-.990 to guarantee the right balance.
| Step | Purpose | Notes |
|---|---|---|
| Sweetening | Adjust sweetness | Add sugar water slowly |
| Back Sweetening | Even sugar distribution | Dissolve sugar in wine first |
| Racking | Separate sediment | Repeat for clarity |
| Fining Agents | Enhance clarity if cloudy | Use if needed |
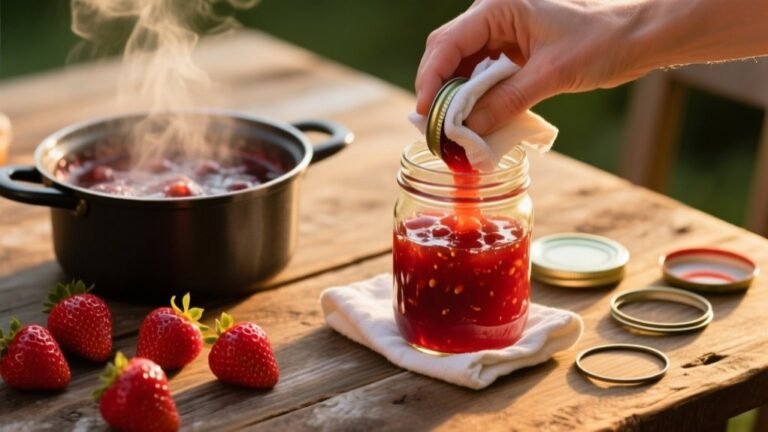
Bottling and Aging Strawberry Wine at Home
Before you bottle your strawberry wine, add potassium sorbate a few days earlier to stop any remaining yeast from causing fermentation in the bottle.
Next, transfer the wine into a bottling bucket.
Then, pour your wine into a bottling bucket to prepare for easy and clean bottling.
If you want it sweeter, back-sweeten by dissolving sugar in a small amount of wine before mixing it in.
Make sure all your bottles are sanitized to avoid contamination.
Once bottled, store them upright for about a week so sediment can settle.
After that, lay them down horizontally to age properly.
Keep in mind, strawberry wine is best enjoyed within 18 months to maintain its flavor.
Key steps to remember:
- Add potassium sorbate early to halt fermentation
- Use a bottling bucket for easy filling
- Back-sweeten carefully for desired sweetness
Common Strawberry Wine Mistakes and How to Avoid Them
Although making strawberry wine at home can be rewarding, you might run into common strawberry wine mistakes that affect its taste and safety. To guarantee proper fermentation and flavor development, use wine yeast, not bread yeast. Always sanitize all tools and containers.
Monitor fermentation closely to avoid bottling too soon, which can cause explosions.
| Mistake | How to Avoid It |
|---|---|
| Using bread yeast | Use specific wine yeast |
| Bottling too early | Check gravity with a hydrometer |
| Over-sweetening | Reduce sugar by ¼ pound |
| Neglecting sanitation | Sanitize all tools and containers |
Following these steps will help you craft clear, flavorful, and safe strawberry wine every time.
Frequently Asked Questions
Can I Use Frozen Strawberries Instead of Fresh for Strawberry Wine?
Yes, you can use frozen strawberries instead of fresh for strawberry wine.
Frozen fruit benefits include easier juice extraction since the berries are already broken down after thawing, which speeds up fermentation differences compared to fresh fruit.
Keep in mind, the flavor profiles might vary slightly, but your wine will still taste delicious.
Just make sure your frozen strawberries don’t have added sugar to avoid fermentation issues and maintain the right sweetness balance.
How Long Does Strawberry Wine Typically Take to Age Before Drinking?
You’ll want to age strawberry wine for at least one month before drinking to let the aging process start mellowing the flavors.
For the best flavor development, aim for 6 to 12 months under ideal conditions.
Store the bottles upright for about a week, then lay them down.
Keep in mind, sweeter wines might be best enjoyed within 18 months.
Tasting it too early may leave you with a rough, unbalanced wine.
What Is the Alcohol Content of Homemade Strawberry Wine?
Your homemade strawberry wine usually has an alcohol content between 8% and 12% ABV.
During the wine fermentation process, yeast converts sugars into alcohol, so the sugar amount you add and the yeast strain’s tolerance directly affect the final ABV.
By mastering homemade brewing techniques, you can balance the strawberry flavor profile with alcohol strength.
Just monitor fermentation carefully to avoid off-flavors or bottle pressure issues.
Can Strawberry Wine Be Carbonated or Made Into Sparkling Wine?
Yes, you can carbonate strawberry wine and create sparkling variations by carefully managing the fermentation process.
After primary fermentation finishes, you add priming sugar before bottling to trigger secondary fermentation, which produces carbonation.
Using proper carbonation methods, like the méthode champenoise, helps develop fine bubbles.
Just verify fermentation is complete to avoid excess pressure, and use strong bottles designed for sparkling wines to keep things safe during the carbonation phase.
How Should I Store Bottled Strawberry Wine for Best Flavor?
Think of your bottled strawberry wine as a delicate treasure chest.
To preserve its flavor, store it upright for the first week so sediment settles, then lay it on its side in proper storage containers.
Keep it in a cool, dark place with an ideal temperature between 50°F and 60°F.
Consistent conditions support the aging process, while humidity around 70% keeps corks moist and prevents spoilage.
Enjoy within 18 months for the best taste.
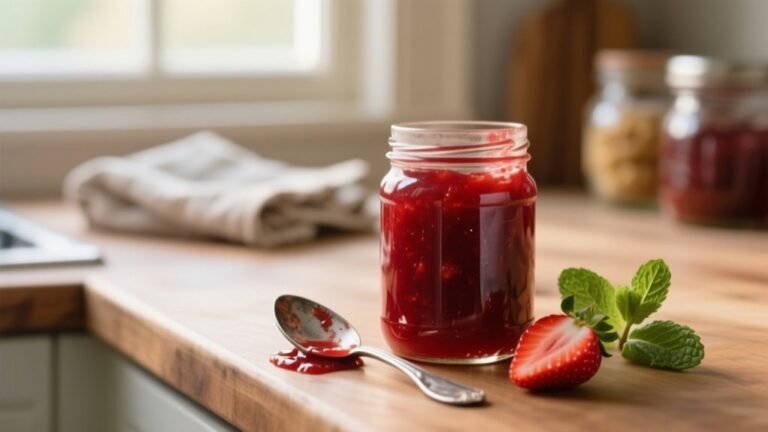
Conclusion
Now that you’ve mastered the art of turning fresh strawberries into wine, imagine uncorking that bottle after weeks of patient waiting. The rich, ruby liquid glistens as it pours, releasing sweet, fruity aromas that dance in the air.
Each sip carries the promise of summer’s warmth, crafted by your own hands. But remember, every step matters. Skip one and the magic could slip away. Are you ready to taste your creation?