
Canning Strawberry Jam in 7 Simple Steps
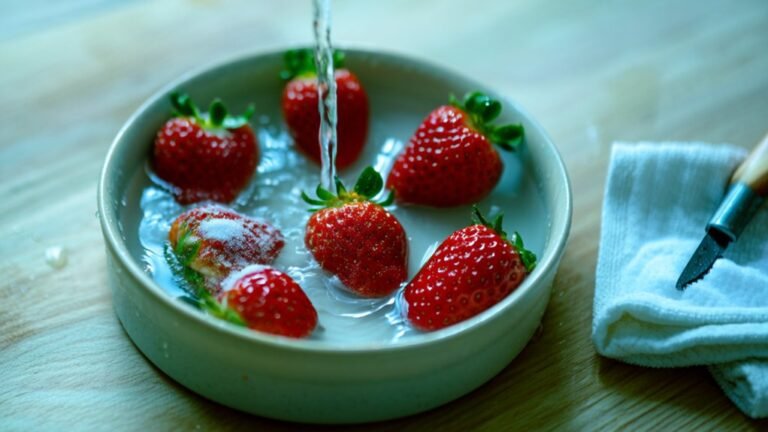
To can strawberry jam in seven simple steps, start by gathering fresh strawberries, pectin, sugar, lemon juice, and canning supplies. Sterilize your mason jars and lids to guarantee safety.
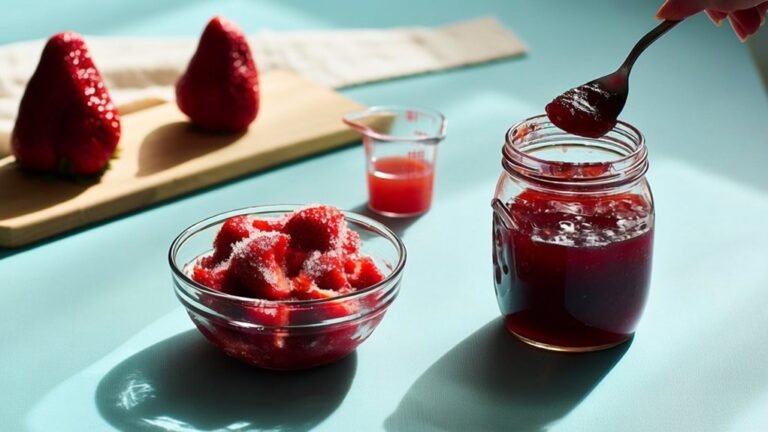
Cook the jam by boiling the fruit mixture with pectin and sugar until it thickens. Fill jars, leaving ¼ inch headspace, then process them in a boiling water bath for 10 to 15 minutes.
Cool the jars, check seals, and store sealed jars in a cool, dark place. There’s more to learn for perfect results and storage tips.
Gather Ingredients and Canning Supplies
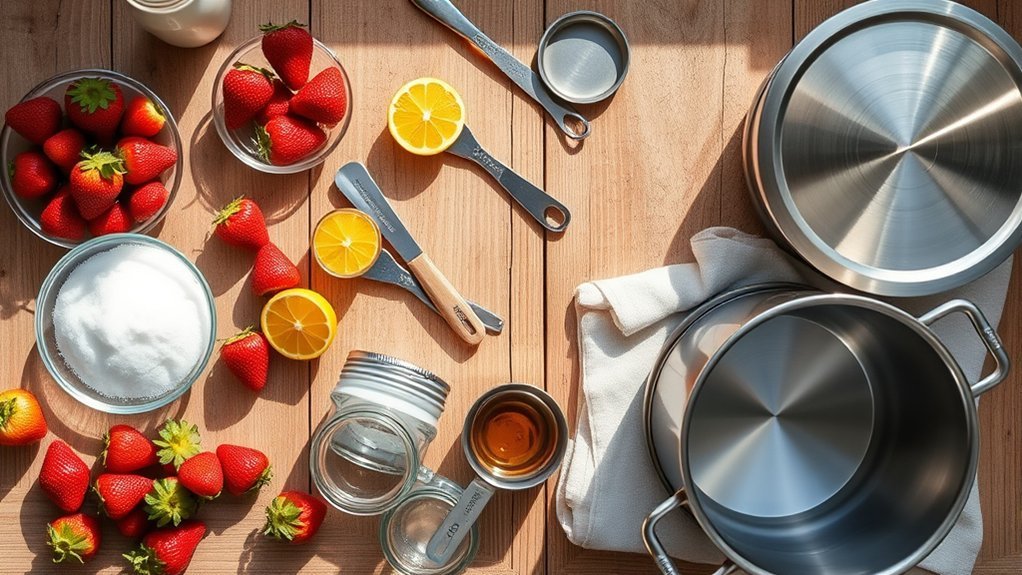
To start making your strawberry jam, gather 2 quarts of fresh strawberries, 6 tablespoons of pectin, 1/4 cup each of lemon juice and water, plus 6 1/2 cups of sugar.
Alongside these ingredients, assemble your canning supplies. You’ll need clean mason jars and their lids, a water bath canner or a large stockpot, and essential utensils like a jar lifter and a wide-mouth funnel.
Gather clean mason jars, lids, a water bath canner or stockpot, plus a jar lifter and funnel for easy filling.
These tools make handling hot jars safer and filling easier. Don’t forget to have your lemon juice and sugar measured precisely, as they’re vital for flavor and preservation.
Keeping everything organized before you start guarantees a smooth canning process. With your jars and canning supplies ready, you’re all set to move forward confidently.
Prepare and Sterilize Jars and Lids
Now that you have your ingredients and canning supplies ready, focus on preparing and sterilizing your jars and lids.
To sterilize jars, simmer 8-ounce mason jars in boiling water for about 10 minutes. This kills bacteria and guarantees the jars are hot before filling.
Keep lids in simmering water to soften the sealing compound, which helps create a tight seal later. Remember, always use new lids. Reusing old ones can prevent proper sealing.
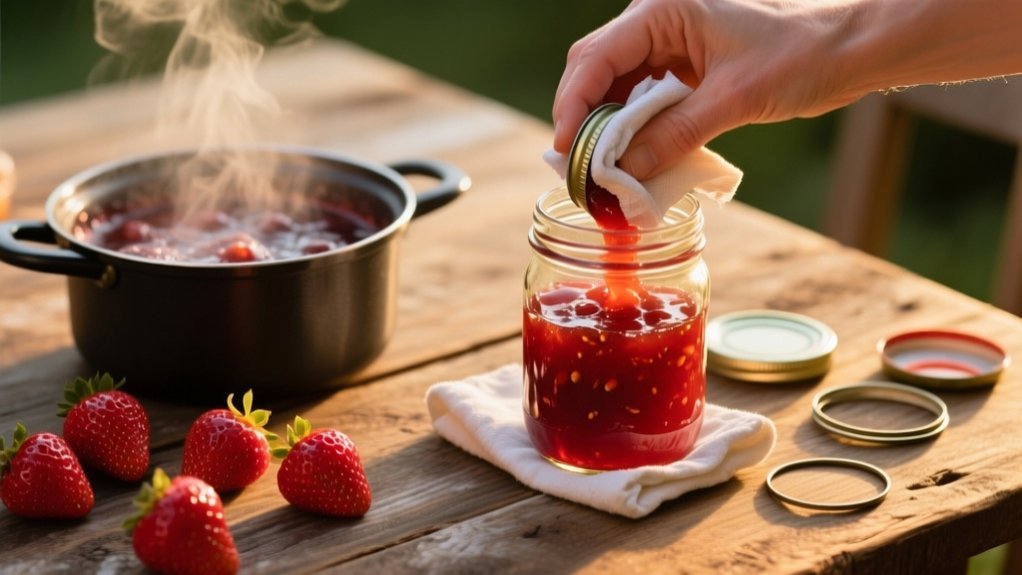
Before filling, wipe the jar rims with a clean, damp cloth to remove any residue that might interfere with the seal.
Properly prepared and sterilized jars and lids are essential for safe canning and preserving the freshness and flavor of your strawberry jam.
Cook Strawberry Jam to Proper Consistency

Although it might seem straightforward, cooking strawberry jam to the proper consistency requires careful attention. Start by combining strawberries, pectin, lemon juice, and water, then bring the mixture to a rolling boil before adding cups of sugar. This guarantees even distribution and proper gelling.
Once you add the sugar, boil the hot jam hard for one minute, stirring constantly to prevent sticking. Mash any larger strawberry pieces to create a smoother texture. For a looser set, cook at least three minutes; four minutes yields firmer jam.
After cooking, you’ll fill each jar carefully and process the jars for sealing. Checking the sealed jars afterward confirms your jam set properly. Look for firm lids that don’t pop back, signaling success.
Fill Jars, Leaving ¼ Inch Headspace
Leave exactly ¼ inch of headspace when filling each jar with strawberry jam to allow for expansion during processing and guarantee a proper seal.
Use a wide-mouth funnel to fill jars easily and avoid spills. Keep each jar upright as you pour to maintain consistent headspace across all jars.
After filling, check for air pockets by gently running a knife along the inside edges; this releases trapped air that could interfere with sealing.
Wipe the jar rims thoroughly with a clean cloth to remove any jam residue, ensuring a proper seal when you place the lids.
This careful attention to headspace, cleanliness, and air pocket removal sets you up for successful preservation and long-lasting strawberry jam.
Process Jam Jars in Boiling Water Bath
Now that your jars are filled, it’s time to get the boiling water bath ready for processing.
Make sure the water covers the jars by at least an inch. Then, bring it to a rolling boil before you start timing the process.
Stick closely to the recommended processing time—that way, you can be confident your jars are safe and properly sealed.
Boiling Water Preparation
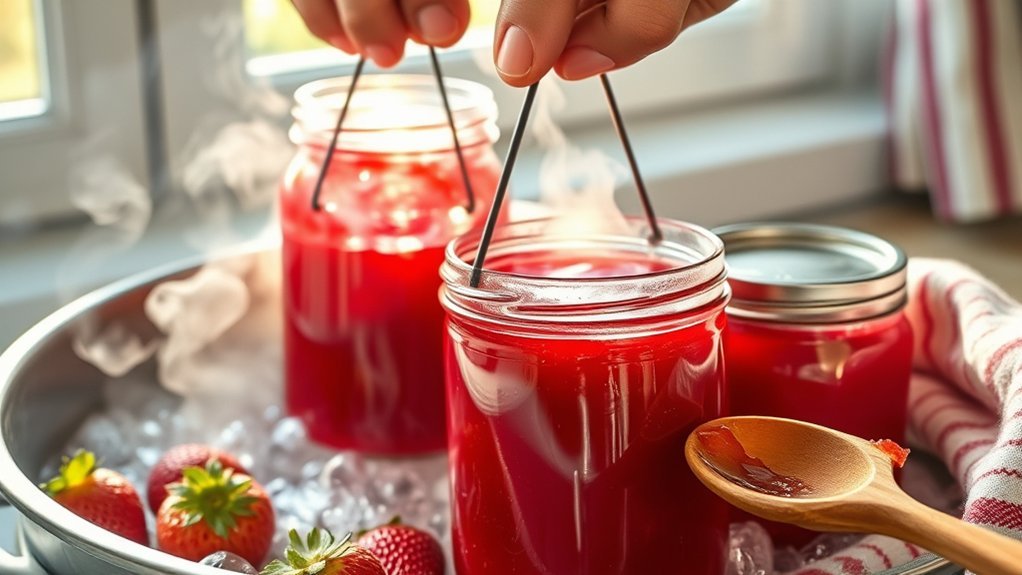
To process your strawberry jam jars properly, start by filling a canner or large stockpot with water and bringing it to a rolling boil before adding the filled jars. Make certain the jars are fully submerged with at least one inch of boiling water above the lids to guarantee even heat distribution.
After processing, turn off the heat and let jars sit in hot water for 5 minutes to avoid thermal shock. Use a jar lifter to carefully remove the jars and place them upright on a towel to cool. This method helps achieve proper sealing and preserves your jam safely.
| Step | Tip |
|---|---|
| Fill pot with water | Use a canner or large pot |
| Boil water | Rolling boil before adding jars |
| Submerge jars | At least 1 inch above lids |
| Remove jars | Use jar lifter, cool upright |
Processing Time And Safety
Although you’ve already filled and submerged your jars, you’ll need to process them in a boiling water bath for at least 10 to 15 minutes to guarantee proper sealing and food safety.
Keep the water at a rolling boil and fully cover the jars throughout the entire processing time.
If you’re canning at higher altitudes, add one minute per 1,000 feet to the processing time.
After boiling, let the jars sit in the hot water for five more minutes to avoid temperature shock, which can cause breakage.
Remember, the jars are HOT, so handle them carefully.
Once cooled, check the seals by pressing the center of each lid; a proper sealing lid won’t flex and will remain concave, ensuring your jam stays safe and fresh.
Cool Jars and Check Seals
After you finish processing your strawberry jam jars, just let them sit undisturbed for about 24 hours.
This gives them plenty of time to cool down and seal properly.
Once they’re cool, go ahead and remove the screw bands.
Then, press the center of each lid—if it’s sealed right, the lid won’t flex or pop when you press it.
But if a jar hasn’t sealed correctly, don’t worry. Just pop it in the fridge and plan to use it up soon to stay safe.
Proper Jar Cooling
When you remove the jars from the boiling water, use a jar lifter and set them upright on a clean towel with space between each to cool properly.
Let your jars cool at room temperature for 24 hours. This cooling process allows the contents to contract, helping the lids to seal tightly.
Here’s what to do next:
- Allow jars to cool undisturbed for a full day to verify they’re properly sealed.
- After cooling, press the center of each lid; a sealed jar’s lid won’t pop back and should appear concave.
- Store sealed jars in a cool, dark place to prolong freshness. Properly sealed jam can last up to a year.
If any jar isn’t sealed, refrigerate it and use the jam within weeks.
Seal Integrity Check
How can you be sure your strawberry jam jars are properly sealed? After 24 hours, remove the screw bands to check seal integrity. Press the center of each lid. If it’s concave and doesn’t give, you have a tight seal.
If the lid pops back, refrigerate that jar and use it soon. Properly sealed jars store best in a cool, dark place. Don’t forget to label sealed jars with the date and contents for easy tracking.
| Step | Action | Result |
|---|---|---|
| 1 | Remove screw bands | Access lid |
| 2 | Press lid center | Check for concave |
| 3 | Lid tight, no give | Seal integrity good |
| 4 | Lid pops back | Refrigerate jar |
| 5 | Label sealed jars | Organized storage |
Store Sealed Jars and Enjoy Your Strawberry Jam
Once your jars have cooled for 24 hours, you can remove the screw bands and check each lid by pressing its center. A properly sealed lid won’t flex up and down.
Next, store sealed jars in a cool, dry place, ideally a dark pantry or cupboard to preserve your homemade strawberry preserves. Don’t forget to label each jar with the date of preparation to track freshness.
Keep in mind these key points:
Check the seals carefully; unsealed jars should be refrigerated and used soon.
Always refrigerate and consume unsealed jars promptly to ensure freshness and safety.
Store sealed jars away from light and heat to extend shelf life.
Properly stored jam lasts 12 to 18 months, so enjoy your efforts over time!
This way, your strawberry jam stays fresh and delicious for months.
Frequently Asked Questions
Can I Use Frozen Strawberries Instead of Fresh for Jam?
Yes, you can use frozen fruit for your jam, but you’ll want to thaw it completely and drain excess water to maintain jam quality.
Adjust sugar ratios carefully since frozen strawberries release more juice during thawing, which might affect texture.
Expect slight flavor differences compared to fresh fruit, but it’s still tasty.
For best results, chop the thawed fruit small and follow proper storage tips to keep your jam fresh longer.
How Long Does Homemade Strawberry Jam Last Unopened?
Imagine a sealed jar of homemade strawberry jam sitting quietly on your pantry shelf. That unopened jar’s shelf life typically stretches between 12 to 18 months.
To maximize jam preservation, follow best practices like storing unopened jars in a cool, dark place.
Proper canning methods guarantee tight seals, which are essential for long-term storage.
What Is the Best Type of Sugar for Strawberry Jam?
You’ll want to use granulated sugar, preferably cane sugar, for your strawberry jam because it preserves the fresh strawberry flavor perfectly.
Brown sugar can work, but it adds a molasses taste that might overpower the fruit.
Avoid coconut sugar, honey alternatives, or artificial sweeteners since they can mess with your jam’s texture and gelling.
Stick to granulated cane sugar to get that classic, delicious strawberry jam every time.
Can I Add Spices or Herbs to Strawberry Jam?
You can absolutely add spices or herbs to strawberry jam, blending spice combinations with herb infusions for unique twists.
While cinnamon or ginger offer warm flavor enhancement, fresh basil or mint bring fresh, seasonal variations.
Start small, about 1/4 teaspoon, and adjust after cooking to keep the strawberry’s natural sweetness front and center.
These taste experiments make your jam stand out.
Just be mindful of how additions affect pectin and acidity for successful canning.
How Do I Fix Jam That’s Too Runny or Too Thick?
If you’re facing jam consistency issues, start by troubleshooting watery jam.
Add more pectin and boil it again to thicken.
For repairing thick jam, reduce sugar next time or gently stir in a bit of water to soften it without losing flavor.
Avoid common jam mistakes like inaccurate measurements.
Conclusion
Now that you’ve turned fresh strawberries into a sweet, sticky masterpiece, it’s almost funny how a few simple steps can trap summer’s sunshine in a jar. While your kitchen might look like a berry battlefield, remember each perfectly sealed jar is proof you’ve conquered the chaos.
So, as you savor your homemade jam, enjoy the irony: it took a little mess and heat to create something so delightfully neat and timeless.