

Make Strawberry Freezer Jam in 3 Simple Steps
To make strawberry freezer jam in three simple steps, start by washing, crushing 2 cups of strawberries, and mixing them with 4 cups of sugar.
Next, dissolve 1.75 ounces of pectin in boiling water, then stir it into your strawberry mixture until smooth.
Finally, ladle the jam into jars, leaving headspace, let it set for 24 hours, and freeze for up to a year. Keep going to uncover tips for perfect jam texture and storage.
Prepare Strawberries and Sugar for Strawberry Freezer Jam

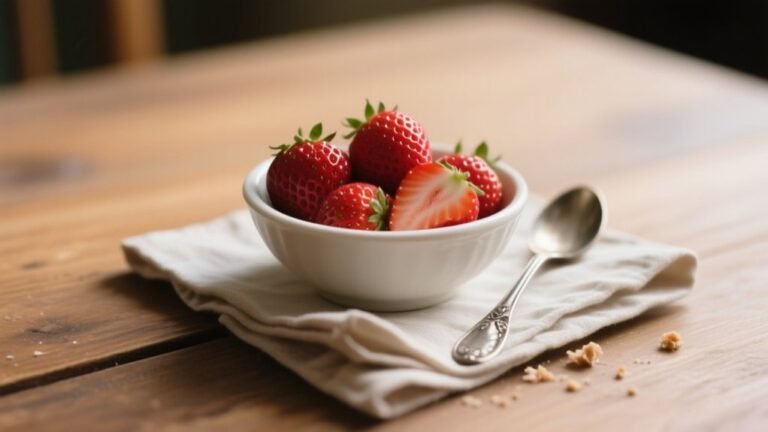
To prepare strawberries and sugar for your freezer jam, start by washing and hulling fresh strawberries to remove dirt and stems.
Then, crush the strawberries using a potato masher or food processor until you have exactly 2 cups of crushed fruit.
Crush strawberries with a potato masher or food processor until you reach 2 cups of fruit.
Place the crushed strawberries in a large bowl and add 4 cups of sugar.
Stir the mixture well to help the sugar begin to dissolve. Let the mixture sit for about 10 minutes to draw out the natural juices from the strawberries.
During this time, stir the jam mixture occasionally to guarantee the sugar dissolves completely and avoids any grainy texture.
This careful preparation sets the foundation for a smooth, flavorful strawberry jam.
Dissolve Pectin and Mix It Into the Strawberry Mixture
After letting the strawberry and sugar mixture sit for 10 minutes, you’ll want to prepare the pectin next.
Combine 3/4 cup of water with 1.75 ounces of Original Sure-Jell fruit pectin in a small saucepan.
Bring this mixture to a boil over medium-high heat, stirring constantly for one minute to dissolve the pectin fully.
Once boiled, immediately add the hot pectin mixture to the strawberry mixture.
Whisk vigorously for about 3 minutes until the sugar is completely dissolved and everything blends smoothly.
Let the combined mixture rest for 5 to 10 minutes, whisking occasionally to maintain an even consistency.
This step guarantees your jam sets properly and is ready to be poured into jars for freezing.
Fill Jars, Let Jam Set, Then Freeze for Storage
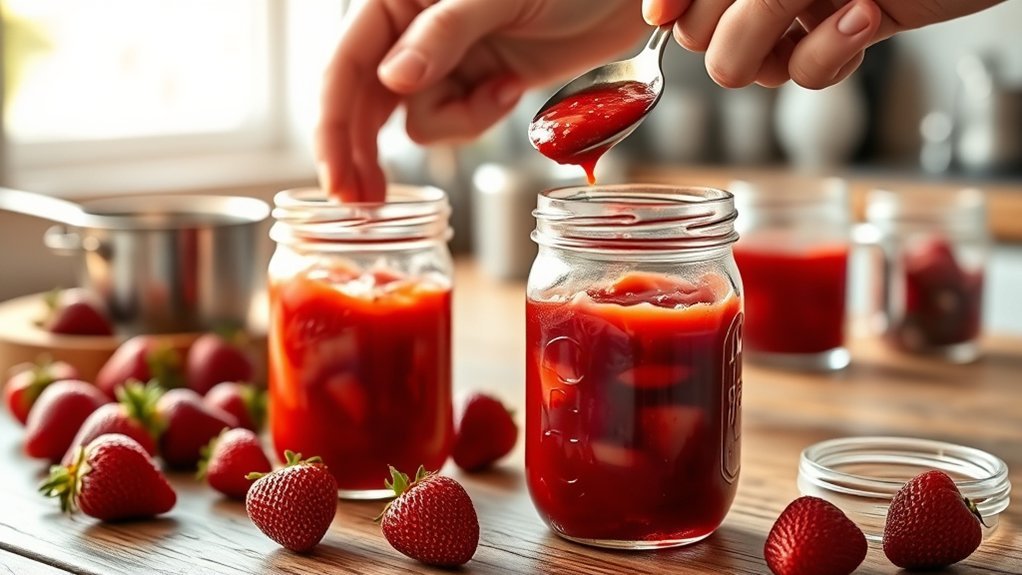
When your strawberry jam is fully mixed and smooth, ladle it carefully into straight-sided jars. Leave about half to three-quarters of an inch of headspace at the top to allow for expansion during freezing.
After you fill jars with the strawberry mixture, securely place lids to maintain quality and prevent air exposure.
Let jam set by leaving the jars at room temperature for 24 hours so it thickens properly.
Don’t forget to label jars with the date and contents to track their ideal time frame, which is up to a year in the freezer.
When you’re ready to enjoy your homemade treat, thaw frozen jam in the refrigerator overnight or at room temperature for 1-2 hours.
This method preserves freshness and flavor, ensuring your freezer jam tastes just right every time.
Frequently Asked Questions
Can I Use Frozen Strawberries Instead of Fresh Ones?
Yes, you can use frozen fruit like strawberries for your jam, but you’ll need proper thawing methods to maintain flavor differences and jam consistency.
Don’t drain the juice; instead, pat them dry to avoid watery jam.
Try crushing rather than blending to keep texture. You can explore pectin alternatives or sugar substitutes for recipe variations.
Remember, frozen fruit may slightly affect nutritional value.
Store your jam properly to preserve freshness and taste.
How Long Does Strawberry Freezer Jam Last in the Freezer?
You might think your strawberry freezer jam will outlast the universe, but its shelf life in the freezer is about one year.
For top jam quality and flavor retention, use airtight container types to avoid freezer burn.
After thawing, keep it refrigerated and enjoy within 2-4 weeks.
Organize your pantry with labeled jars for food safety and easy serving suggestions.
Homemade jam deserves proper freezer storage to stay delicious and fresh!
Is It Necessary to Use Liquid Pectin for This Recipe?
You don’t have to use liquid pectin, but it offers benefits like a reliable set and easier mixing.
If you prefer, you can try pectin alternatives such as powdered pectin or even homemade pectin from apple cores.
Just watch pectin measurement tips carefully, since ratios differ. Remember, acidity affects gelling, so balance it well.
Some no-pectin recipes use natural fruit pectin, but gelling agents comparison shows liquid pectin often gives the best results.
Store pectin in a cool, dry place to extend pectin shelf life.
Can I Reduce the Sugar Amount in the Jam?
You can reduce the sugar amount in your jam, but here’s the catch: you’ll need to carefully balance pectin and sugar alternatives to keep the jam’s sweetness and texture just right.
Adjusting sugar affects fruit flavor and preserving techniques, so taste tests are essential.
Experiment with recipe adjustments and cooking methods, and consider health considerations.
What Type of Jars Are Best for Freezing Jam?
You’ll want to use straight-sided Ball or Mason jars with airtight lids for freezing jam, as these glass jars handle expansion without cracking.
Plastic containers labeled BPA free are great reusable options too.
Avoid specialty jars with shoulders since they can break. If you prefer, freezer bags work, but jars are more durable.
Always leave headspace and label jars with the date to keep track.
This way, your jam stays fresh and safe.
Conclusion
Now that you’ve made your strawberry freezer jam in just three simple steps, you might wonder if freezing really preserves the fresh flavor better than canning. Curiously, freezing slows down enzyme activity, keeping those bright, sweet notes locked in without the need for boiling.
So, by skipping heat, you’re actually capturing the strawberry’s true taste. Give it a try; you’ll taste the difference every time you spread your homemade jam!