
10 Simple Steps to Do DNA Extraction From Strawberry
Start by gathering fresh strawberries, dish detergent, salt, water, cold rubbing alcohol, and filtering materials. Mash strawberries in a sealed bag, then mix in a soap-salt-water solution to break cells and release DNA.
Filter the mixture to remove solids, then carefully layer chilled rubbing alcohol to precipitate DNA strands. You’ll see white, thread-like DNA clumps form at the interface. Collect them gently with a toothpick.
Understanding each step’s role will help you master this simple extraction process and improve your results.
Gather All Materials for Strawberry DNA Extraction

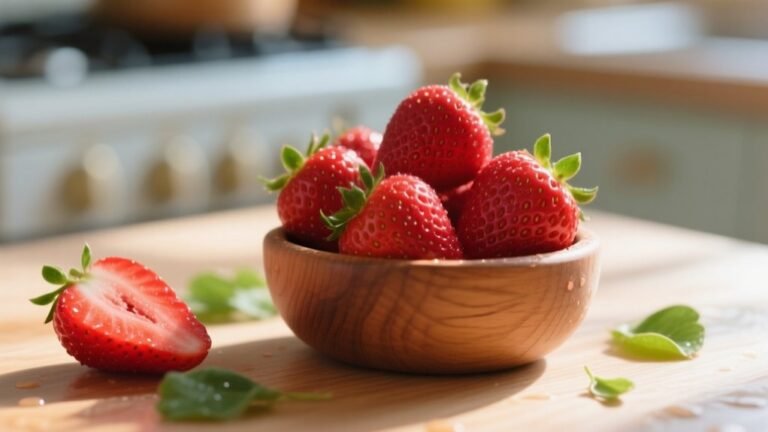
Before you begin extracting DNA from strawberries, make sure you have all the necessary materials ready. For a successful strawberry DNA extraction, you’ll need two fresh strawberries, a resealable plastic bag, and common household items like dish detergent, salt, and water.
Gather fresh strawberries, a resealable bag, detergent, salt, and water to start your DNA extraction.
Also, grab cold rubbing alcohol, about half a cup, which helps the DNA become visible. You’ll need two plastic cups for filtering and collecting the solution, plus a coffee filter to strain the mixture.
A coffee stirrer is handy for picking up the extracted DNA once it appears. If you want to handle the DNA strands more, keep a skewer or toothpick nearby.
All these items are easy to find at home and should cost you less than five dollars. Having everything ready makes the process smooth and efficient.
Prepare Strawberry DNA Extraction Solution With Soap, Salt, and Water
Since the extraction solution plays an essential role, you’ll start by mixing 2 teaspoons of dish detergent, 1 teaspoon of salt, and half a cup of water in a plastic cup.
The dish detergent helps break down the cell membranes in the strawberry mixture, releasing the DNA into the solution.
The salt is important because it neutralizes the negative charges on the DNA molecules, allowing them to clump together.
Gently stir the solution until the salt fully dissolves to guarantee it works effectively.
This strawberry mixture acts as the key ingredient for the next steps, helping separate the DNA from other cellular materials.
Preparing this solution carefully sets the foundation for a successful DNA extraction from your strawberries.
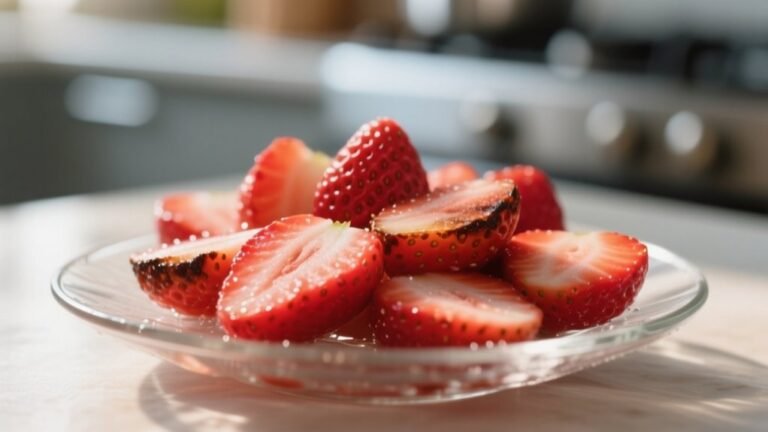
Mash Strawberries in a Sealed Plastic Bag
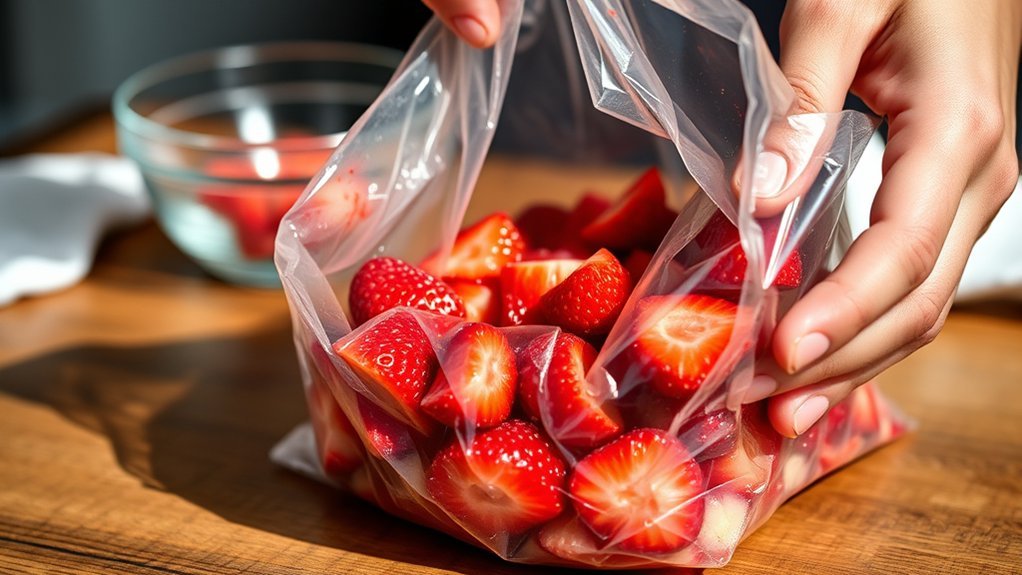
First, take off the green leaves from your strawberries.
Then, pop two of them into a resealable plastic bag. Make sure to seal it up tight.
Next, gently mash the berries inside the bag for about two minutes. You want to break down their cells but be careful not to poke a hole in the bag.
This mashing step helps release the DNA, so keep going until the strawberries turn into a mushy mix. That way, you’re all set for the next step in the extraction process.
Preparing Strawberries Properly
When you remove the green leaves from two strawberries and place them in a sealed plastic bag, you’re ready to begin the essential step of mashing. This step is imperative to extract DNA from strawberries effectively. The sealed bag keeps everything contained, preventing spills and contamination as you break down the cells. Mashing releases the cell contents, including the DNA, preparing them for extraction.
| Step | Purpose |
|---|---|
| Remove leaves | Guarantee clean sample |
| Place in plastic bag | Prevent spills and contamination |
| Seal the bag | Maintain sample integrity |
| Mash gently | Break cell walls to release DNA |
Proper preparation sets the foundation for a successful DNA extraction from strawberries.
Effective Mashing Techniques
Begin by gently mashing the strawberries inside a sealed plastic bag, making certain to remove the green leaves beforehand. This step guarantees you focus on the fruit’s flesh, which holds the DNA you want to extract.
While mashing strawberries, apply consistent pressure for about 2 minutes to break down the cell walls and release cellular contents. Keep the bag sealed tightly to avoid spills and contamination. Your goal is a smooth, pulpy mixture without big chunks so the extraction solution can work effectively.
Remember these tips when mashing strawberries:
- Remove green leaves to target the DNA-rich flesh
- Mash gently but consistently for 2 minutes
- Avoid tearing the bag to prevent contamination
- Aim for a smooth pulp, not large strawberry chunks
Add Extraction Solution and Mix Gently
Combine 2 teaspoons of dish detergent, 1 teaspoon of salt, and ½ cup of water in a plastic cup to make the extraction solution. Pour this solution into the bag with your mashed strawberries. Seal the bag tightly and gently knead it for about a minute.
This gentle mixing allows the extraction solution to break down cell membranes and release the DNA.
| Component | Role in Extraction Solution |
|---|---|
| Dish Detergent | Dissolves cell membranes |
| Salt | Helps DNA strands clump together |
| Water | Acts as solvent for mixing |
| Gentle Mixing | Guarantees effective cell breakdown |
This step is key for freeing DNA strands, preparing them for the next stage of filtering and collection.
Filter the Strawberry Mixture Through a Coffee Filter or Cheesecloth
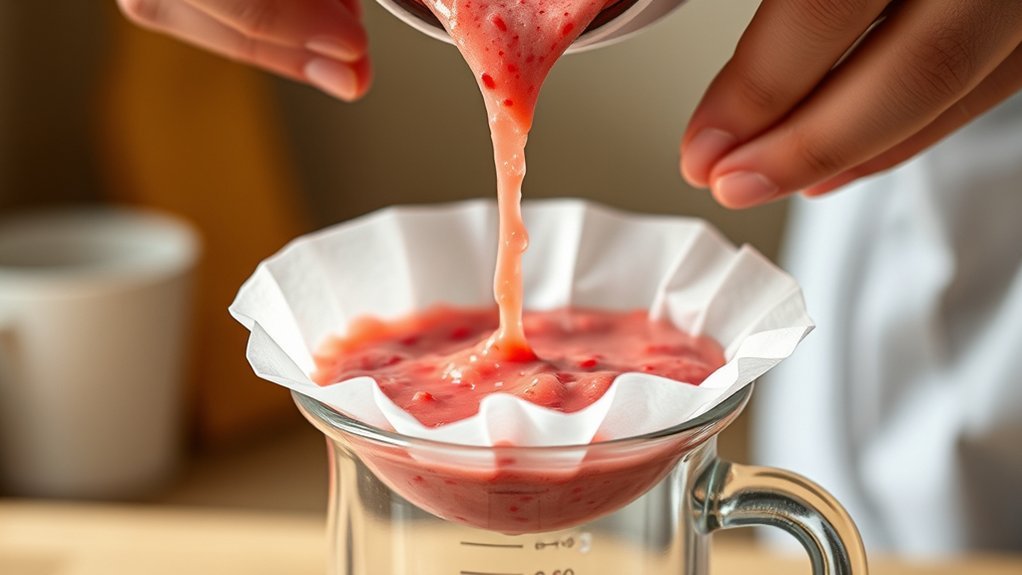
Set a coffee filter or cheesecloth over a clean plastic cup to prepare for straining the strawberry mixture. Open the bag with your smashed strawberries and extraction solution, then gently pour it onto the filter.
This filtering step separates the liquid, which contains the DNA, from the solid strawberry bits leftover.
While filtering, you’ll notice the liquid drips into the cup below. Solid strawberry residue, or “schmutz,” stays on the filter.
Filtering isolates the DNA-rich liquid and prepares the mixture for the next step with rubbing alcohol.
Filtering separates the DNA-rich liquid, setting the stage for the next step with rubbing alcohol.
Filtering is essential to clear the mixture of solids, giving you a cleaner sample for DNA extraction.
Take your time pouring to avoid tearing the filter and losing any precious liquid.
Chill Rubbing Alcohol and Layer It Over the Filtered Liquid
Make sure you pop the rubbing alcohol into the freezer for at least 30 minutes before you start. Cold alcohol is the secret because it helps the DNA clump together and become visible.
Once you’ve filtered your strawberry liquid, gently pour the chilled alcohol down the side of the cup—do it slowly so it forms a separate layer. This layering is super important since it lets the DNA gather right at the spot where the two liquids meet.
Importance Of Cold Alcohol
When you chill rubbing alcohol before use, it helps the DNA in your strawberry extract become much more visible by causing it to clump together and precipitate out of the solution.
Cold alcohol lowers DNA’s solubility, making those whitish strands stand out clearly. If you use room temperature alcohol, the DNA might dissolve instead of separating. That’s why the temperature of the alcohol is essential for a successful extraction.
Here’s why cold alcohol matters:
- It reduces DNA solubility, allowing strands to clump.
- It creates a visible layer where DNA collects.
- Warmer alcohol can dissolve DNA, hiding it.
Using at least ½ cup guarantees enough volume to see results.
Chilling your rubbing alcohol is key to making DNA extraction work well.
Proper Layering Technique
Chilling the rubbing alcohol before use not only helps the DNA become visible but also prepares it to form a distinct layer over the filtered strawberry liquid.
To apply the proper layering technique, pour the cold alcohol slowly and gently down the side of your container. This careful approach keeps the alcohol from mixing with the strawberry solution.
Since rubbing alcohol is less dense, it naturally floats on top, creating a clear interface where the DNA strands will gather. If you pour too quickly or stir, the solutions blend, reducing the visible DNA yield.
After layering, be patient. The whitish, snot-like DNA will gradually clump at the boundary.
Mastering this proper layering technique is key to successfully extracting and observing strawberry DNA in your experiment.
Observe White, Thread-Like Strawberry DNA Strands in the Alcohol Layer
As you add cold rubbing alcohol to the filtered strawberry mixture, you’ll notice a white, thread-like cloud forming at the interface between the two liquids.
This cloud is the strawberry DNA, clumping together because it’s less soluble in alcohol than in water.
You’ll see the DNA strands rise to the surface, appearing as a white, snot-like substance. It’s a clear sign of the genetic material you’ve extracted.
- The DNA strands look thread-like and float between the layers
- This visual shows the strawberry’s unique octoploid genetic makeup
- The process uses simple household materials and takes about 10-15 minutes
- Watching the DNA appear makes genetics tangible and exciting
Enjoy this glimpse into the physical properties of DNA right before you!
Collect Strawberry DNA With a Toothpick or Stirrer
Now that you can see the white, thread-like DNA strands, grab a toothpick or coffee stirrer.
Gently collect the strands from the alcohol layer. Just be careful to insert the tool just below the surface so you don’t disturb the clumps too much.
Handle the extracted DNA with care—this way, you can study it closely or even use it for your next experiment.
Identifying DNA Strand
When you pour cold rubbing alcohol over the strawberry liquid, you’ll notice a whitish, snot-like layer forming at the interface. This is the DNA. This visible strand results from the extraction process, where alcohol causes the DNA to clump together and rise.
To identify and collect the DNA strand, use a toothpick or coffee stirrer to gently lift the gelatinous mass. Strawberry DNA is especially abundant because strawberries have eight copies of each chromosome, making the extraction yield higher than most fruits.
Keep in mind:
- The whitish layer is the DNA, not residue or pulp.
- DNA appears stringy and gelatinous, easy to pick up.
- Handle the stirrer carefully to avoid breaking the strands.
- Extraction success depends on using cold alcohol for clear DNA visibility.
Using Stirrer Techniques
Although the DNA strands are delicate, you can effectively collect them by gently swirling the cup after adding cold rubbing alcohol.
Then, use a toothpick or coffee stirrer to lift the whitish, clumped mass from the interface.
The cold rubbing alcohol helps the DNA precipitate, making it visible as a stringy, snot-like substance between the alcohol and strawberry liquid layers.
When you swirl the mixture gently, the DNA separates cleanly, allowing you to see these clumps more clearly.
Carefully insert your toothpick or stirrer at the interface and slowly lift the DNA without breaking it apart.
Being gentle is key because the strands are fragile.
This technique guarantees you collect the maximum amount of strawberry DNA, giving you a better view of the genetic material you’ve extracted.
Handling Extracted DNA
Once the cold rubbing alcohol causes the strawberry DNA to clump and rise to the surface, you can gently lift it using a toothpick or coffee stirrer.
The DNA will appear as a stringy, translucent substance floating atop the alcohol layer. Be patient and work slowly to avoid disturbing the layers of liquid.
As the strands clump together, carefully collect them for further observation.
Keep these tips in mind when handling extracted DNA:
Use gentle, steady motions to lift the DNA clump without breaking it.
Avoid stirring or mixing the liquids once the DNA has clumped together.
Collect the DNA strands slowly to maintain the structure.
Store the collected DNA in a small container for future experiments or viewing.
This careful handling guarantees you preserve the delicate strawberry DNA you extracted.
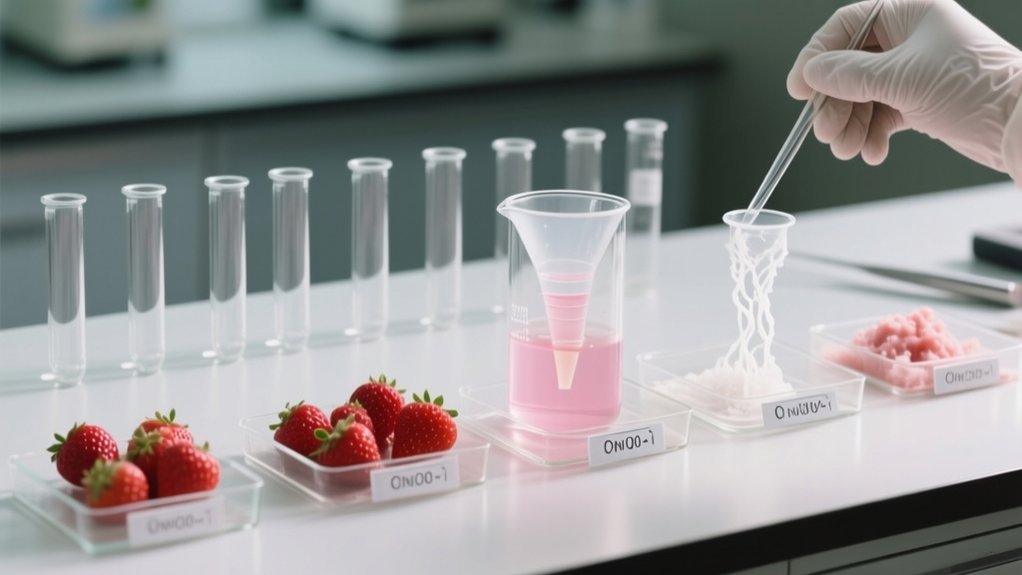
How Each Ingredient Helps Extract Strawberry DNA
Each ingredient in the strawberry DNA extraction serves a specific role to help reveal the genetic material.
Dish detergent breaks down cell membranes by dissolving lipids, freeing the DNA.
Salt plays an essential part by neutralizing the negative charges on DNA strands, helping them clump together so you can see them more easily.
Water acts as the solvent, diluting the detergent and salt, allowing the solution to penetrate the strawberry cells effectively.
When you add chilled rubbing alcohol, it forces the DNA to precipitate, making it visible as a whitish, snot-like substance.
Finally, the coffee filter separates solid cellular debris from the liquid, ensuring only the DNA-containing solution passes through for extraction.
Each step works together to make strawberry DNA extraction successful and clear.
Fix Common Problems for Clear Strawberry DNA Every Time
Getting clear strawberry DNA every time can be tricky, but avoiding common mistakes makes a big difference.
When extracting DNA, small adjustments can help you achieve better results consistently. Here’s how you can fix common problems:
Chill rubbing alcohol for at least 30 minutes. Cold alcohol helps DNA precipitate clearly.
Use fresh strawberries or fully thaw frozen ones, then mash them well to maximize DNA yield.
Mix the extraction solution gently until the salt dissolves completely. This avoids clumps that interfere with cell lysis.
Pour alcohol slowly over the filtered liquid to create a distinct layer where DNA strands become visible.
Frequently Asked Questions
Can I Use Other Fruits Besides Strawberries for DNA Extraction?
Yes, you can use other fruits besides strawberries for DNA extraction, but fruit variability affects your results.
Bananas, for example, have high DNA content but need more volume to match strawberries.
Apples, kiwis, and onions also work, though their DNA mightn’t be as visible or abundant.
Strawberries are great because they’re octoploid, giving you more DNA.
How Long Can Extracted Strawberry DNA Be Stored?
You’d think strawberry DNA would vanish in a snap, but it actually sticks around quite well!
For storage duration, if you freeze your extracted DNA, it can last several months without much trouble.
Just keep it sealed and cold, preferably with alcohol to help preserve it.
If you stash it in the fridge instead, plan to use it within a few weeks to avoid degradation.
Consistent low temperatures are key to keeping it intact.
Is It Safe for Kids to Perform Strawberry DNA Extraction?
Yes, you can safely have kids perform strawberry DNA extraction with proper kid safety measures.
The experiment uses non-toxic, household materials like dish soap and salt, making it kid-friendly.
Just make sure an adult supervises, especially when handling rubbing alcohol, to keep everyone safe.
The gentle mashing and mixing steps minimize injury risk, so it’s a fun, educational activity that teaches kids about biology without exposing them to harmful substances.
What Is the Scientific Purpose of Extracting Strawberry DNA?
You extract strawberry DNA to explore genetic research firsthand, helping you understand how traits and functions are encoded.
Since strawberries have multiple chromosome copies, they provide a rich DNA source, making it easier to study.
This process lets you see fundamental biology concepts, like how DNA molecules clump and become visible.
It gives you a clearer picture of genetics and how scientists analyze genetic material in research and biotechnology.
Can I Eat the Strawberry Mixture After DNA Extraction?
You can’t eat the strawberry mixture after DNA extraction because it contains detergent and salt, which compromise fruit safety.
While fresh strawberries are delicious and safe, the leftover mixture is anything but tasty or healthy. The detergent breaks down cell membranes but makes the mixture harmful if consumed.
To enjoy your fruit safely, toss the extraction mix and stick to fresh strawberries for eating after the experiment.
Conclusion
Now that you’ve uncovered the delicate strands of strawberry DNA, you’ve fundamentally accessed a tiny treasure chest of life’s blueprint. Just like peeling back the layers of an onion to reveal its core, each step you took brought you closer to the heart of the fruit’s genetic story.
Keep experimenting and you’ll find that science isn’t just lab work. It’s a fun adventure waiting to be explored right in your kitchen!