
10 Easy Steps to Make Bisquick Strawberry Shortcake
To make Bisquick strawberry shortcake, rinse and slice 4 cups of strawberries, then mix them with sugar and let sit an hour. Combine 2⅓ cups Bisquick, 3 tbsp sugar, and ⅔ cup milk, folding in melted butter without overmixing.
Drop spoonfuls onto an ungreased baking sheet and bake at 425°F for 10 to 12 minutes until golden. Whip cream with sugar and vanilla, then layer shortcakes with strawberries and cream. Keep going to discover tips for perfect texture and creative variations.
Prepare Strawberries for Strawberry Shortcake
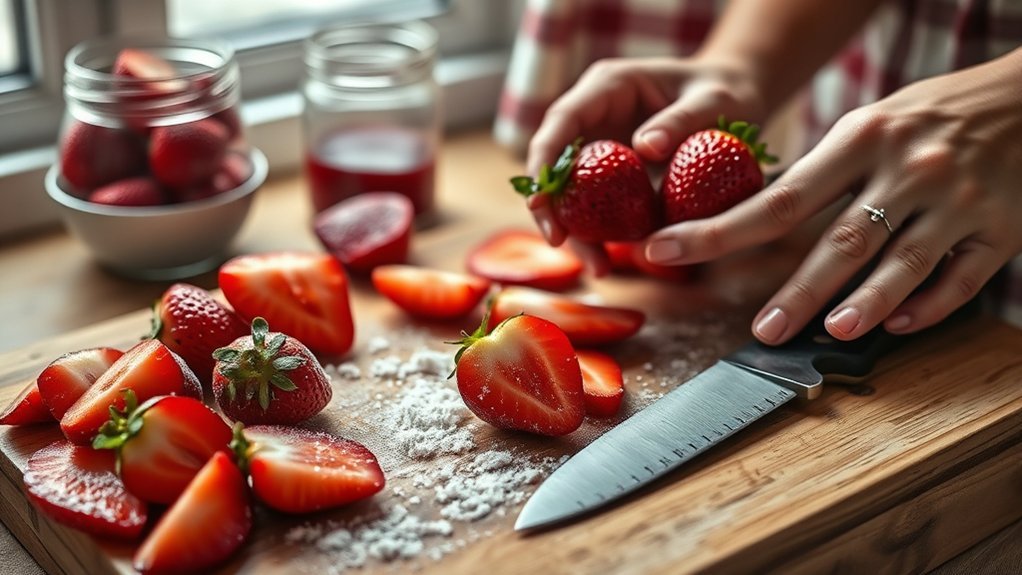
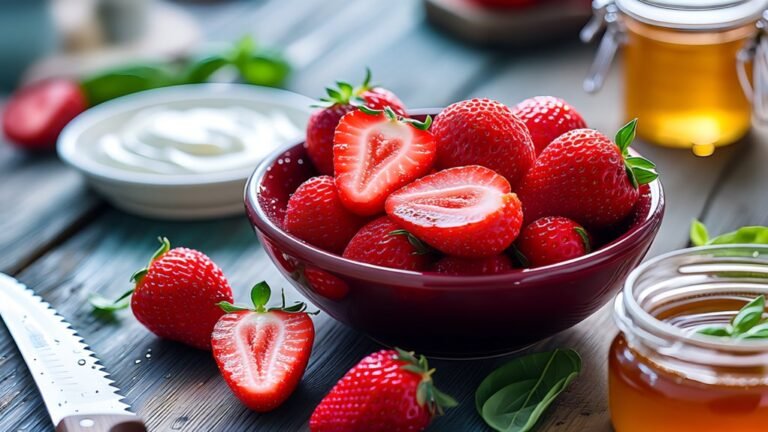
Begin by rinsing 4 cups of fresh strawberries under cold water, then drain them thoroughly to remove any dirt.
Next, remove the hulls by cutting off the green tops with a paring knife. Slice the strawberries into 1/4-inch thick pieces so they’ll mix well with the sugar and create a syrupy texture.
Remove hulls and slice strawberries into 1/4-inch pieces for perfect syrupy sweetness.
In a large bowl, combine the sliced strawberries with 1/4 cup of sugar, gently stirring to coat every piece evenly.
Let the mixed strawberries sit for at least one hour; this draws out the juices and enhances their natural sweetness.
These perfectly prepared strawberries are essential for making delicious strawberry shortcakes that burst with fresh flavor in every bite.
Mix Bisquick, Milk, Sugar, and Butter to Make Dough
After letting the strawberries macerate, it’s time to prepare the shortcake dough. In a medium bowl, combine 2 1/3 cups of Bisquick with 3 tablespoons of sugar, mixing thoroughly to distribute the sugar evenly.
Slowly add 2/3 cup of milk while stirring to form a soft dough. Melt 3 tablespoons of butter and fold it into the mixture, which adds moisture and rich flavor.
Be careful not to overmix; stir just until the ingredients come together. This approach keeps the dough tender and light. The small chunks of butter within the dough help create a flaky texture once baked.
With the dough ready, you’re set to move on to dropping spoonfuls onto your baking sheet, preparing for the next step in your strawberry shortcake creation.
Drop Dough by Spoonfuls Onto Baking Sheet
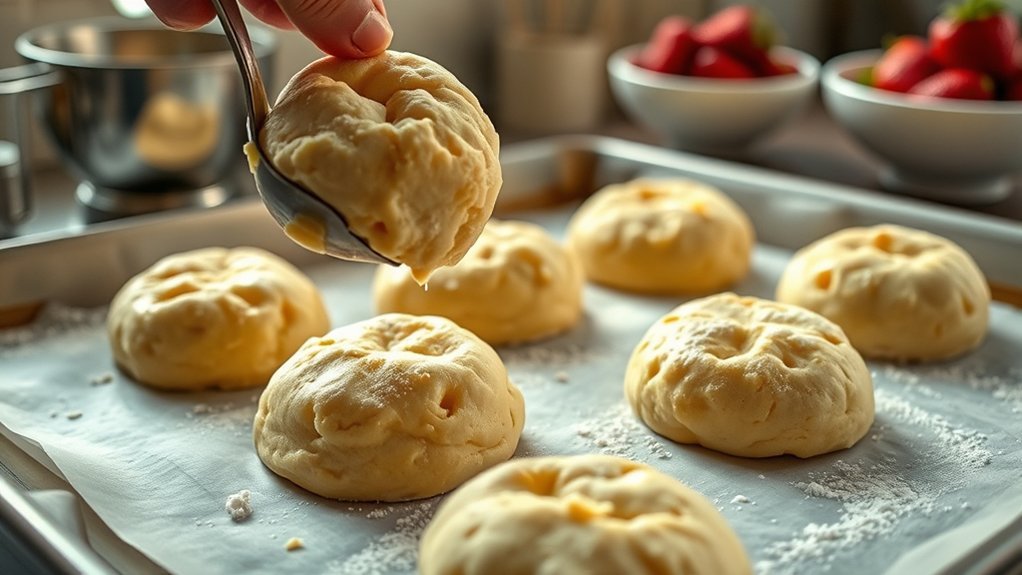
Scoop the soft dough with a medium-sized spoon, dropping rounded tablespoonfuls onto an ungreased cookie sheet. Make sure to space each mound evenly to allow the shortcakes room to expand while baking. You’ll want about six spoonfuls per baking sheet for best results.
Before baking, add a sprinkle of sugar atop each dough mound to give the shortcakes a subtle sweetness and a lovely sparkle.
A light sprinkle of sugar adds subtle sweetness and a sparkling finish before baking.
As you drop dough onto the sheet, picture:
- Soft, pillowy mounds ready to rise
- A light dusting of sugar catching the light
- Even spaces between each shortcake for perfect baking
This careful preparation sets the stage for shortcakes that will come out golden brown and delicious.
Bake Shortcakes Until Golden Brown
To bake your shortcakes until they’re perfectly golden brown, preheat your oven to 425°F to guarantee they rise evenly.
Drop the dough by rounded tablespoonfuls onto an ungreased cookie sheet, spacing them well to allow for expansion.
Bake shortcakes for 10 to 12 minutes, watching closely so they don’t over-brown, especially on the bottom if you’re using a dark cookie sheet.
When the shortcakes turn a beautiful golden brown, they’re done and ready to come out of the oven.
Once baked, remove them and allow to cool on a wire rack for 10 to 15 minutes.
This step is key to achieving the ideal texture and flavor in your Bisquick Strawberry Shortcake before adding any toppings or fillings.
Whip Heavy Cream With Sugar and Vanilla
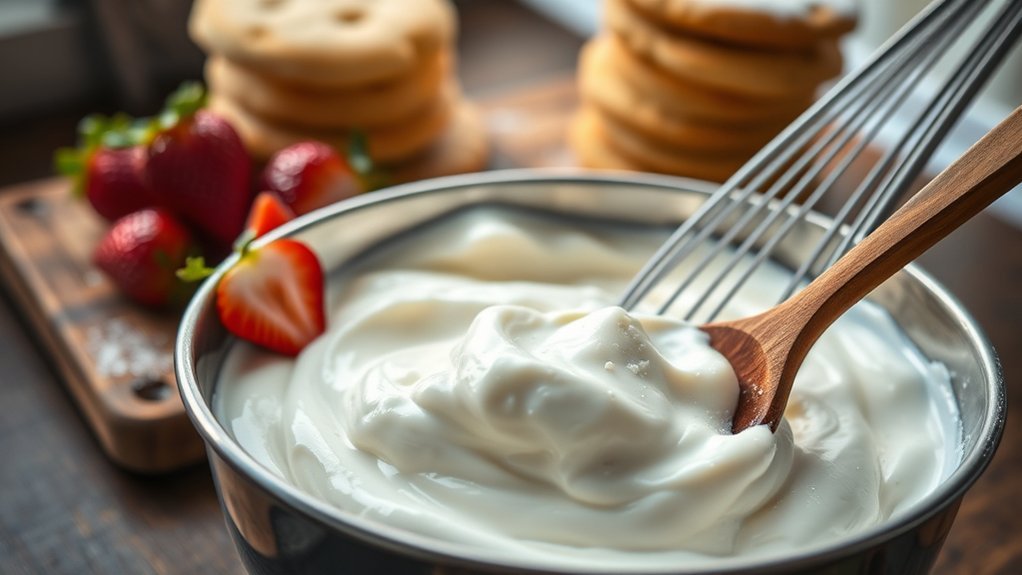
You’ll want to chill your bowl and beaters before whipping the cream to get the best texture. It really makes a difference!
Then, add just the right amount of powdered sugar and vanilla to balance sweetness and flavor.
Beat the cream on high until soft peaks form. Keep an eye on it and stop just before it gets grainy—that’s the sweet spot for perfect fluffiness!
Whipping Cream Techniques
Although whipping cream might seem simple, using heavy whipping cream chilled along with cold beaters and bowl makes a big difference in achieving fluffy, stable peaks.
Start with heavy whipping cream that has at least 36% fat for the best texture.
Gradually add powdered sugar and vanilla extract as you whip to enhance flavor.
Beat the cream on medium-high speed until you see soft peaks, where the cream holds its shape but still looks slightly soft.
Avoid overwhipping since it can turn grainy or become butter.
To visualize:
- A frosty bowl and beaters fresh from the fridge
- Cream thickening and rising to soft peaks
- Vanilla extract swirling in with powdered sugar for sweetness
These techniques perfect your whipping cream every time.
Sugar and Vanilla Ratios
One tablespoon of powdered sugar per cup of chilled heavy cream strikes the perfect balance of sweetness for your strawberry shortcake. This amount enhances the natural flavor without overpowering the fresh strawberries or the Bisquick shortcake.
Adding about half a teaspoon of vanilla extract per cup of cream brings a warm, aromatic note to your whipped cream, making it even more complementary to the dessert.
Make sure your heavy cream is well chilled before whipping, as this helps it thicken and hold its texture better.
You can adjust the sugar and vanilla slightly depending on your taste, but keeping these ratios will give your whipped cream a smooth, flavorful finish that perfectly ties together the strawberries and Bisquick shortcake layers.
Achieving Soft Peaks
When whipping heavy cream for your strawberry shortcake, start with a chilled bowl and cold cream to guarantee the best texture.
Add a tablespoon of powdered sugar and a drop of vanilla extract to the cream before whipping. Use an electric mixer on high speed to whip the cream until it thickens.
Watch carefully as soft peaks form. This means your cream will hold its shape but remain smooth and perfect for topping strawberries.
Keep these tips in mind:
- Use a cold metal bowl to keep the cream chilled
- Beat on high speed for about 1-2 minutes
- Stop once soft peaks form to avoid grainy whipped cream
This technique assures your strawberries get the perfect dollop of fluffy, soft whipped cream every time.
Let Shortcakes Cool Before Slicing
Before slicing your shortcakes, let them cool for 10 to 15 minutes so they firm up and hold together better. When you let them cool, the shortcakes develop a firmer texture, making them easier to slice without crumbling or becoming mushy.
If you slice them too soon, the heat and moisture from the strawberries and whipped cream can cause the shortcakes to lose their structure. Cooling not only improves texture but also enhances flavor by allowing the sweetness to settle in.
Once cooled, carefully slice each shortcake in half to create a stable base for your toppings. This step guarantees your dessert layers hold nicely and delivers the perfect bite every time.
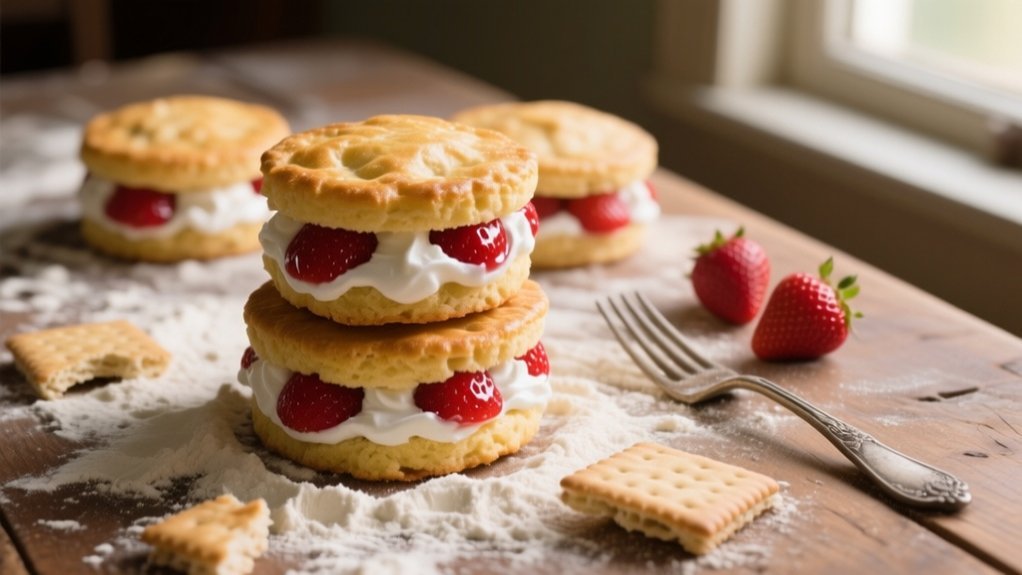
Assemble Shortcakes With Strawberries and Cream
Although your shortcakes have cooled, you’ll want to slice each one in half to create a sturdy base and top.
To assemble your Bisquick strawberry shortcake perfectly, start by layering the bottom half with juicy, macerated strawberries soaked in sweet syrup.
Then, add a generous dollop of freshly whipped cream made from heavy cream, powdered sugar, and vanilla.
Finally, place the top half of the shortcake back on and finish with more strawberries and whipped cream for an indulgent touch.
Visualize this:
- Soft, crumbly Bisquick shortcake providing a warm, tender foundation
- Bright red strawberries glistening with sugary syrup
- Fluffy, cloud-like whipped cream crowning the dessert
Serve immediately to enjoy the ideal harmony of flavors and textures in every bite.
Optional Variations: Alternative Fruits and Toppings
If you want to switch up the classic strawberry shortcake, try using raspberries, blueberries, peaches, or apricots instead. These alternative fruits add a delicious twist to the traditional strawberries and pair wonderfully with whipped cream.
For an extra burst of flavor, create a fruit-infused topping by folding crushed fruit into your whipped cream. Drizzling honey or adding citrus zest can also elevate your shortcake.
Here’s a quick guide to inspire your creativity:
| Fruit | Topping Idea | Flavor Profile |
|---|---|---|
| Raspberries | Maple syrup drizzle | Tart and sweet |
| Blueberries | Citrus zest whipped cream | Bright and fresh |
| Peaches | Honey drizzle | Sweet and juicy |
| Apricots | Fruit-infused whipped cream | Floral and tangy |
| Strawberries | Cinnamon sprinkle | Classic and aromatic |
Experiment and enjoy your unique shortcake!
Store and Reheat Strawberry Shortcakes
When you need to store your strawberry shortcakes, place the cooled cakes in resealable bags. This helps keep them fresh and prevents drying out.
To properly store and reheat your shortcakes, follow these tips from this strawberry shortcake recipe:
Properly store and reheat shortcakes by keeping components separate and warming cakes briefly for best texture and flavor.
Keep prepared strawberries and whipped cream covered separately in the fridge to maintain freshness.
Reheat leftover shortcakes in the microwave for about 30 seconds until warm, ensuring they stay soft.
If you prepare dough ahead, refrigerate it up to 4 hours or freeze shaped dough for 48 hours and bake directly from frozen.
Using resealable bags for the cakes and storing toppings separately helps you enjoy quick, delicious strawberry shortcakes anytime without losing flavor or texture.
Tips to Prevent Burning and Ensure Fluffy Shortcakes
To keep your shortcakes from burning and make sure they stay fluffy, you’ll want to watch your oven temperature closely. It’s all about finding that sweet spot so they bake evenly without getting too brown on the outside.
Using the right baking surface helps a lot too—shiny metal cookie sheets are great for this because they reflect heat and promote even baking.
Also, be gentle when you’re handling the dough. If you press or knead it too much, your shortcakes can turn out dense instead of light and airy.
Oven Temperature Management
Although oven temperature management might seem straightforward, getting it just right is essential for creating fluffy, perfectly baked Bisquick strawberry shortcakes.
Start by preheating your oven to 425°F and use an oven thermometer to confirm the oven temperature is accurate. This helps avoid undercooked or burnt results.
Choose shiny metal cookie sheets; they reflect heat evenly, preventing the bottoms from burning.
Be sure to monitor baking time carefully, usually 10 to 12 minutes, since ovens vary. Once baked, allow shortcakes to cool for 10 to 15 minutes to maintain their structure before adding toppings.
Keep these tips in mind:
- Verify oven temperature with an oven thermometer
- Use shiny metal cookie sheets for even browning
- Monitor baking time closely and allow shortcakes to cool
Baking Surface Selection
Selecting the right baking surface plays an essential role in preventing your Bisquick strawberry shortcakes from burning and ensuring they come out fluffy. Use a shiny metal cookie sheet or a rimmed baking pan to promote even browning and prevent burning.
Avoid dark cookie sheets as they absorb extra heat, causing over-browning. A baking mat adds a non-stick layer, helping achieve a golden crust without burning. Keep a close eye on baking time, usually 10 to 12 minutes, adjusting for your oven or convection settings to maintain fluffiness.
| Surface Type | Benefit |
|---|---|
| Shiny Metal Cookie Sheet | Even browning, prevents burning |
| Rimmed Baking Pan | Keeps bottoms from burning |
| Dark Cookie Sheet | Avoid, absorbs too much heat |
| Baking Mat | Non-stick, golden crust |
Dough Handling Techniques
Choosing the right baking surface sets the stage, but how you handle the dough plays an equally important role in preventing burning and keeping your shortcakes fluffy. Master these dough handling techniques to get perfect results every time.
First, avoid overmixing; stir just until soft dough forms to keep the texture light and tender.
Next, drop rounded tablespoonfuls onto a shiny metal cookie sheet, spacing them well to allow even heat circulation and prevent burning.
Finally, monitor baking time closely, usually 10 to 12 minutes, and look for a golden brown color as your cue to pull them from the oven.
Frequently Asked Questions
Can I Use Frozen Strawberries Instead of Fresh?
Yes, you can use frozen strawberries instead of fresh. Frozen strawberry benefits include year-round availability and convenience.
Just make sure to thaw them properly using gentle thawing techniques like refrigerating overnight or placing them in a colander to drain excess juice.
Keep in mind, flavor comparisons show frozen berries might be slightly softer and less vibrant.
You may want to adjust your recipe by reducing added sugar since frozen ones release more juice.
Serve chilled for best results.
Is Bisquick Gluten-Free or Are There Alternatives?
Bisquick isn’t gluten-free, so it won’t work if you’re avoiding gluten.
But don’t worry, you can find gluten-free alternatives like gluten-free Bisquick substitutes or make your own mix with almond or rice flour.
When baking with gluten-free ingredients, recipe modifications might be necessary to get the right texture.
These swaps not only help with gluten sensitivity but can also offer health benefits like better digestion and fewer allergens.
How Long Can Assembled Shortcakes Be Stored in the Fridge?
You can store assembled shortcakes in the fridge for up to 24 hours to maintain freshness.
Keep your fridge temperature around 37°F (3°C) to slow spoilage.
To extend shortcake storage duration, separate ingredients like whipped cream and strawberries before refrigerating.
Add them just before serving to help retain texture and flavor.
When you’re ready to serve, assemble quickly and enjoy the best taste and presentation.
Can I Make the Shortcake Dough Ahead of Time?
Yes, you can make ahead your shortcake dough to save time.
After mixing, wrap it tightly and store it in the fridge for up to 24 hours or freeze it for longer dough freezing. When ready, thaw it in the fridge overnight.
For shortcake storage, keep baked shortcakes in an airtight container.
If you need ingredient substitutions, consider using yogurt instead of milk for added moisture.
Preparation tips include not overworking the dough for tender results.
What Is the Best Way to Serve Shortcakes for a Crowd?
Start by setting a stunning spread with serving suggestions that sparkle!
For portion sizes, slice shortcakes evenly to satisfy every sweet tooth without waste.
Presentation tips? Arrange them attractively on a platter with topping options like fresh whipped cream, juicy strawberries, and a drizzle of honey.
Crowd favorites include a mix of classic and creative toppings, letting guests customize their treats.
This way, you’ll serve smiles and scrumptious shortcakes with style and ease!
Conclusion
Now that you’ve mastered these easy steps, your kitchen will be filled with the sweet scent of homemade strawberry shortcake. It’s a true celebration of simple joys.
Like a summer breeze carrying the taste of ripe strawberries, this dessert brings warmth and delight to any table. So go ahead, savor each bite, and remember: the best treats are the ones made with love and a little Bisquick magic. Your sweet masterpiece awaits!